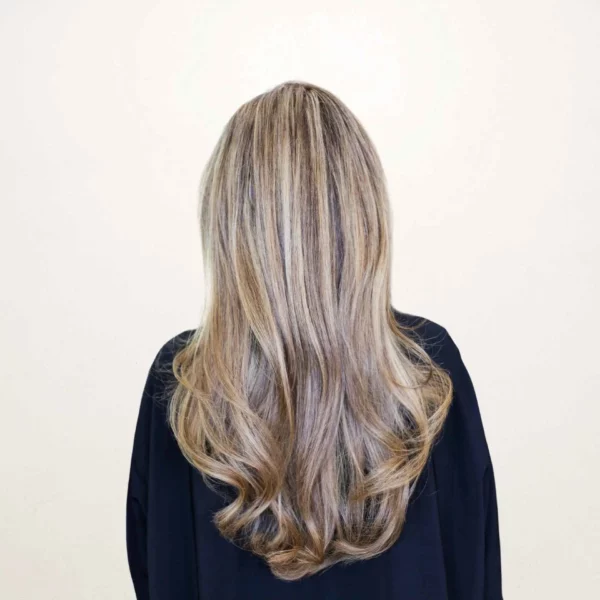
Keeping your hair from being washed out, drab, and streaky all begins with the toner that your stylist places in your hair. Toner makes your hair color more intense and vibrant, keeping it the exact shade you are hoping for from the moment you walk in until your next appointment.
Bleaching your hair or doing an at-home hair dye job needs to end with a toner to keep away the brassiness and relieve your hair of dullness. Toning your hair is the most important step in making sure your new do looks good.
When you skip this part, you’re only selling yourself short by having a new color that won’t last or risking brassiness that will take away the bleach blonde look (and instead has your hair looking highlighter yellow).
Toning your hair is not too much work. Here is our simple guide on how to tone your hair to keep your color looking fresh!
What is Toner and Who Needs It?
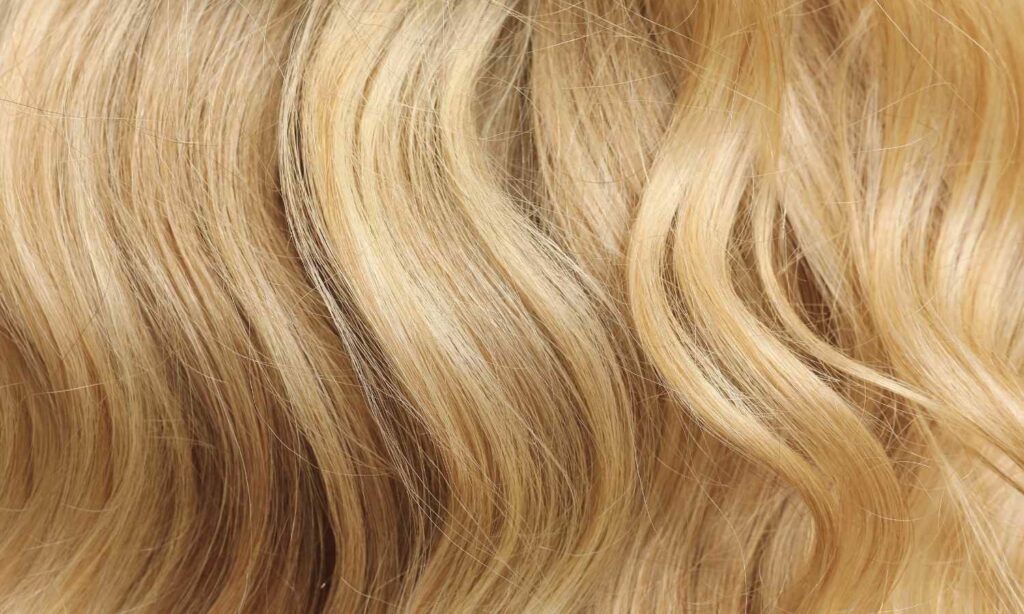
Think of toner as the topcoat for your hair. You can’t lock the color into place without a topcoat for your nails, just like you can’t just leave the dye in your hair and expect it not to bleed, streak, or turn a different tone.
Toner can neutralize any unwanted brassiness or undertones that stay in the hair after your work is done. Most people tend to believe that toner is only for those who have bleach blonde hair, but brassiness, orangeness, and redness can come through on any color from redheads to brunettes alike.
From highlights to balayage to simple one-color dye jobs, all can benefit from using a toner that balances the hair color and neutralizes any unwanted colors.
Choosing a Toner
Before you take matters into your own hands, it’s best to talk to your hairstylist before taking any drastic measures. Once you’ve done that, now it’s time to determine which toner is best for you.
It is important to brush up on your color theory knowledge to make the right choice!
If your hair undertones are looking orange, you’ll want to reach for a blue toner to give you that chocolate brown look again.
Purple toner will work for bottle blondes and bleach blondes, removing any yellow from your hair. Finally, red undertones in the hair will go away with a green toner.
Side note: Some shampoos (like blue and purple shampoos) can be used to tone your hair! Read more about the difference between purple vs. blue shampoos.
Bleaching Tip: Plan to tone your hair after bleaching it? Check out our guide to bleaching your hair at home for minimal damage as well as our list of the best hair bleaches out there.
How to Tone Hair
Wash Your Hair First
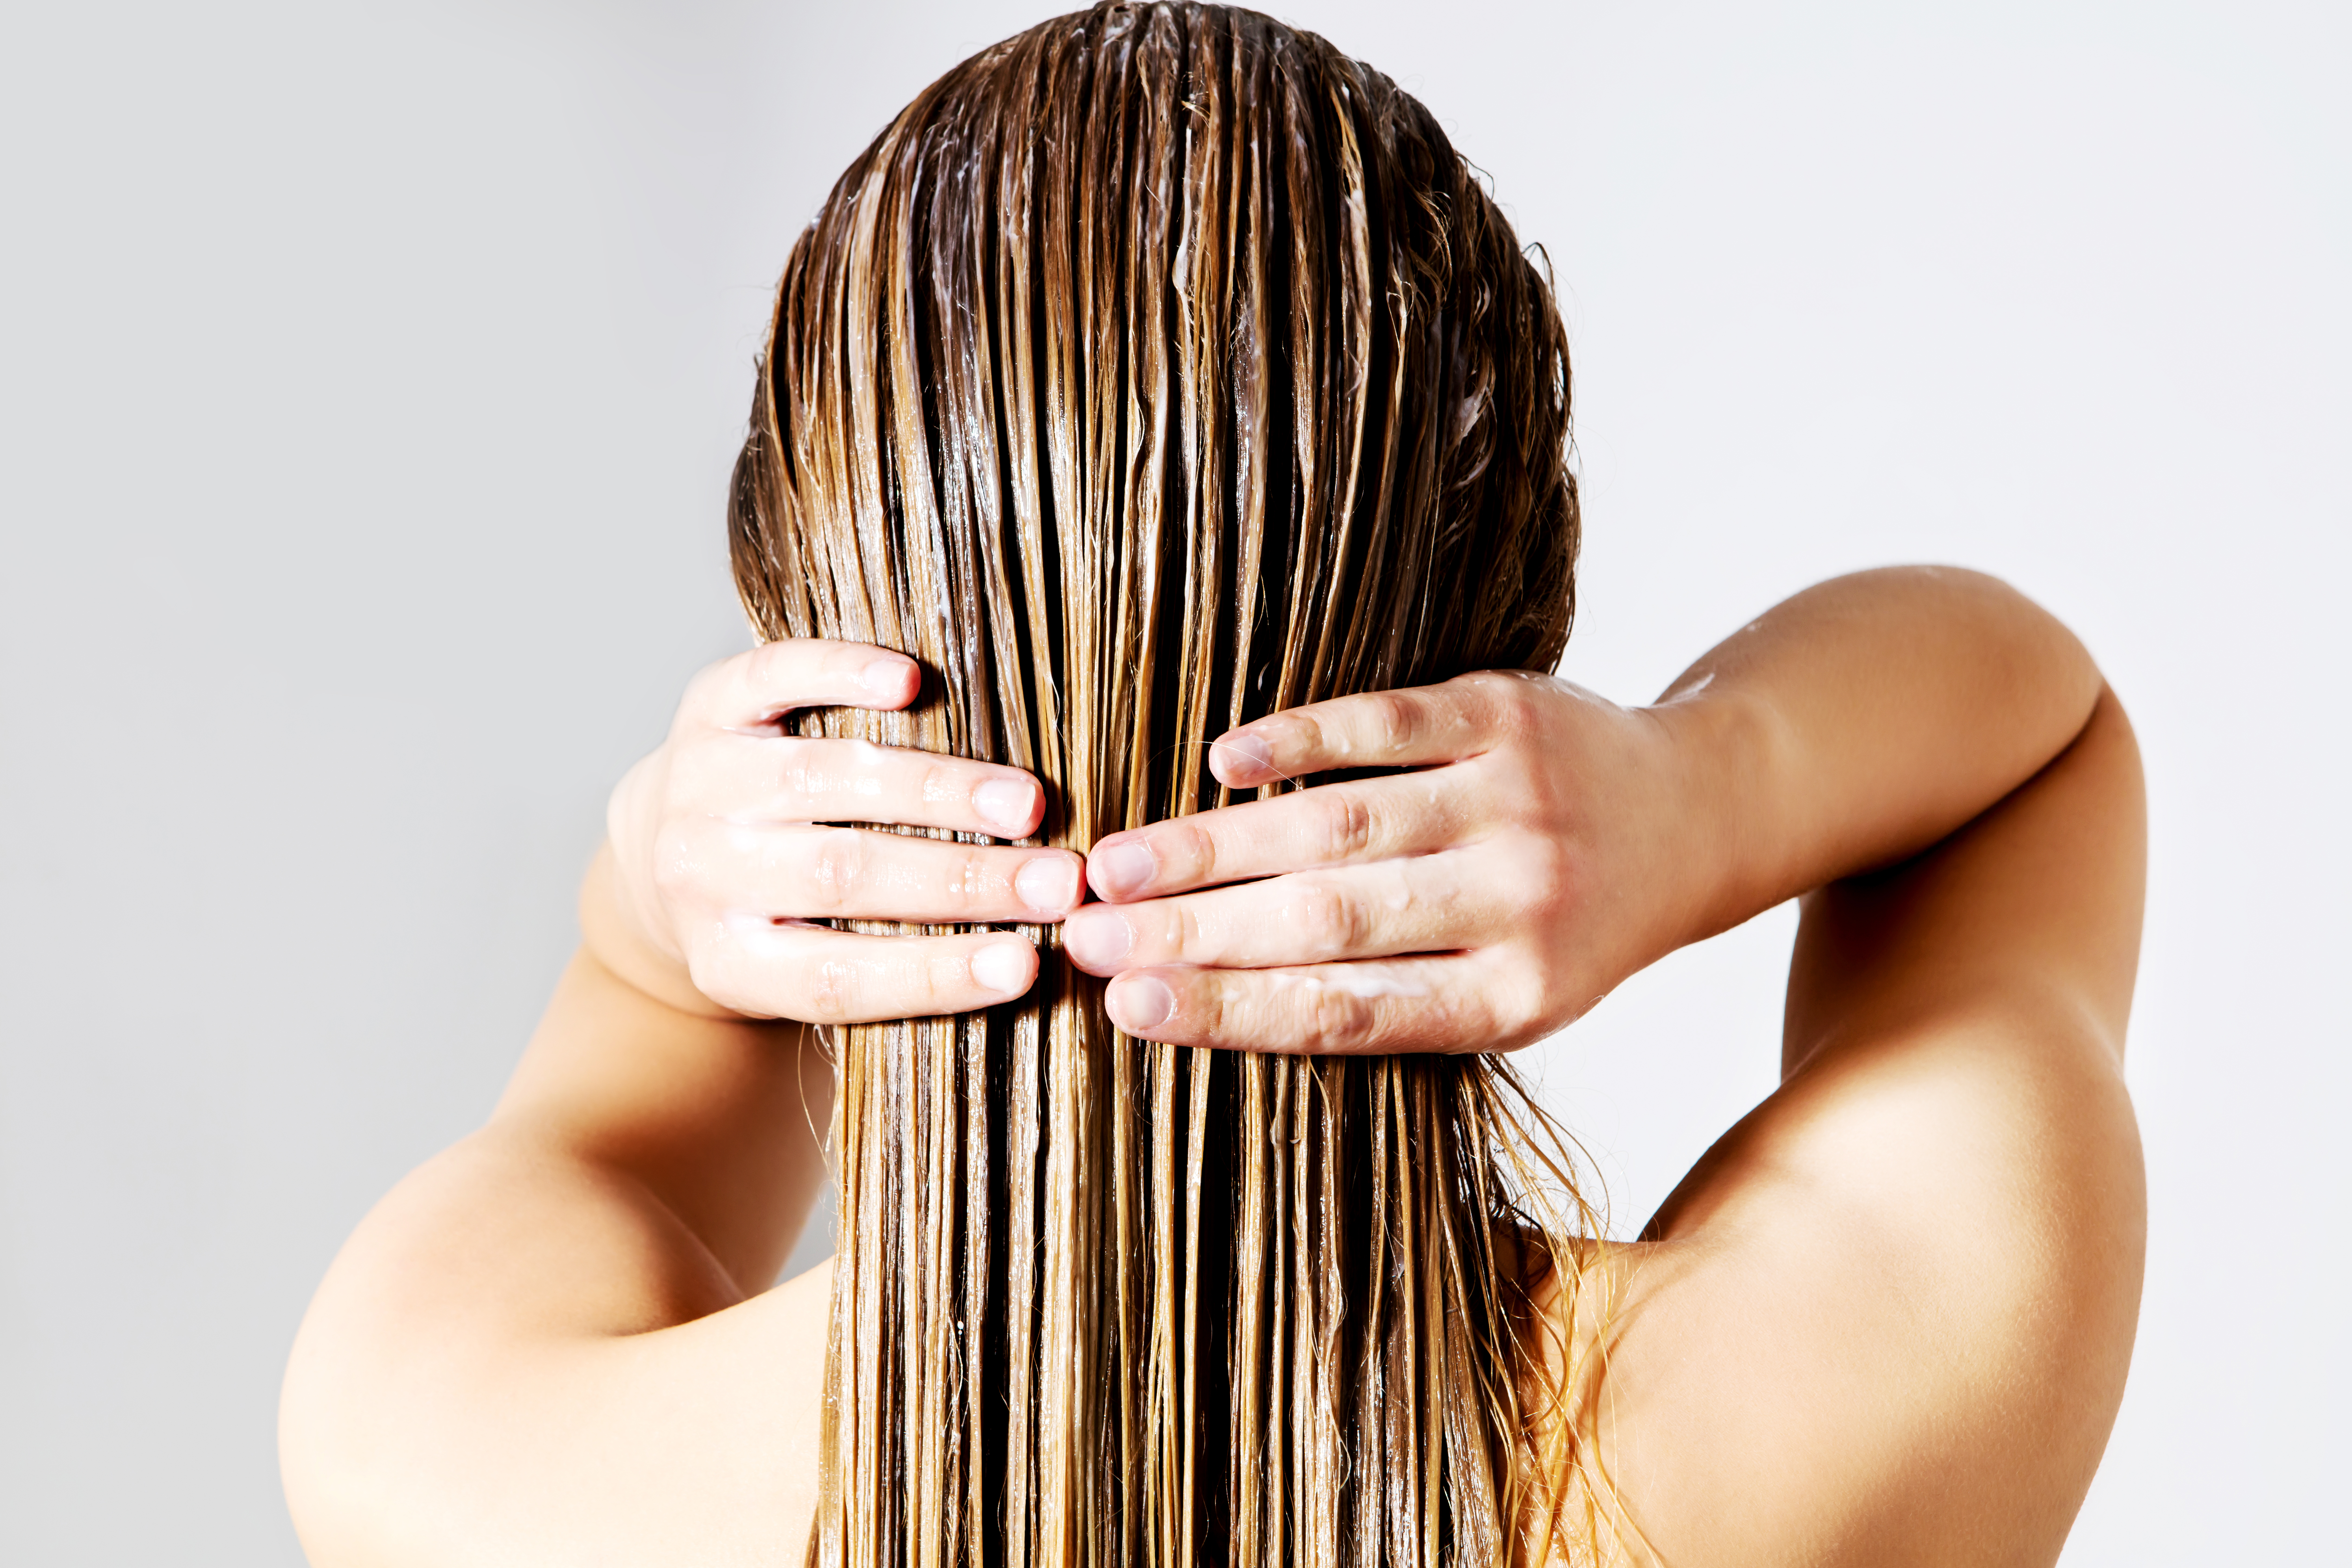
First, shampoo your hair like normal to prepare it for the toner.
Once you have done that, towel dry your hair so that the product is able to soak in more instead of sitting on top of wet hair. The toner will be able to absorb into the strands even more when your hair is slightly dried.
Apply With Brush
When you are applying the toner, make sure to use gloves because it stains! Rub the toner on the areas that you know are problematic using an applicator brush, then begin to cover the rest of your locks.
Shampoo and Rinse
Leave the toner on for 10 to 15 minutes and then shampoo the hair once again. Now that you have rinsed it out, it is time to condition the hair to repair it with intense moisture since toning the hair can leave it a bit dry.
Use Conditioner
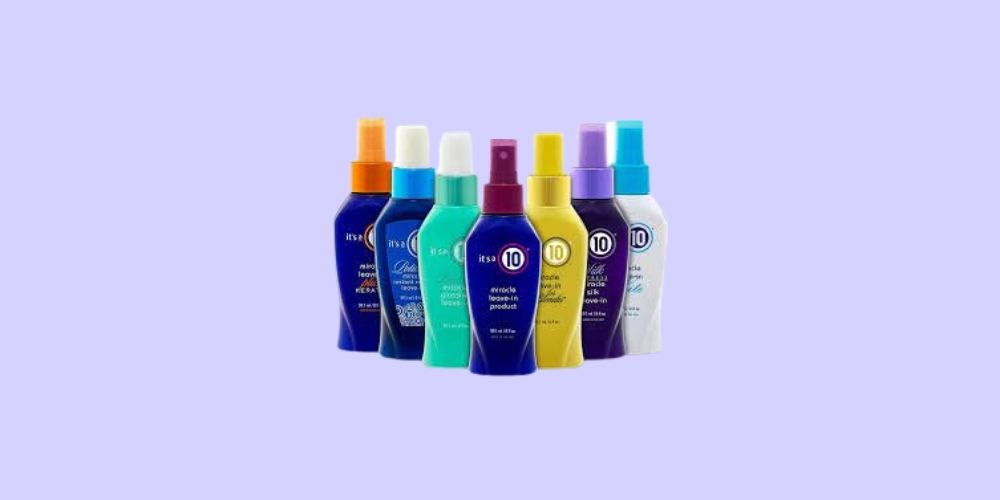
If you’d like to go the extra mile, you can use a leave-in conditioner or hair mask in addition to what you already used. If you are going to blow out your hair, finish it with an oil that will leave you looking sleek and shiny.
Try something like this leave-in treatment from It’s A 10 or a deep conditioning hair mask like this one from Briogeo.
Pro Tip: If the toner you are using is salon-level, do NOT forget to mix it to a 1:2 ratio. Ammonia-based toners will get you looking right!
To Sum It Up
While the thought of coloring or toning your hair at home can be nerve-wracking, it’s actually a pretty simple process that anyone can do.
Just make sure to choose the right toner for your hair, follow the instructions closely, and conditioner when you’re done!

